Even for the most durable rubber boots, tears and cracks are inevitable. Boots can develop cracks, holes, or other damage over time.
Instead of buying a new pair, why not consider the cost-effective and eco-friendly option of repairing them with a rubber boot repair kit?
In this comprehensive guide, we’ll delve into the world of rubber boot repair kits, providing you with the knowledge and step-by-step instructions to bring your beloved boots back to life.
Understanding Rubber Boot Damage
Before we dive into the intricacies of repairing rubber boots, it’s essential to identify common types of damage and their causes. Having a better understanding of rubber boot issues will help you select the appropriate repair method and kit.
Cracks: Cracks are tiny fissures or lines that appear on the surface of rubber boots. They are usually caused by exposure to extreme temperatures, UV rays, or prolonged use without proper maintenance.
Holes and Tears: Holes and tears are more severe forms of damage that can compromise the waterproof integrity of your rubber boots. These issues can occur due to sharp objects, abrasive surfaces, or prolonged stress on specific areas of the boots.
Leaking Seams: Sometimes, the seams of rubber boots can start to leak, allowing water or debris to enter. This can happen as the adhesive that holds the seams together weakens over time.
Deterioration: Rubber boots may deteriorate over time due to chemical exposure, like contact with certain oils, solvents, or pesticides. This can cause the rubber to become brittle and lose its flexibility.
Insole Breakdown: The insoles inside rubber boots can break down, lose cushioning, or become uncomfortable over time, leading to discomfort during prolonged wear.
Fading: The color of rubber boots may fade over time due to exposure to UV rays and the elements. While this doesn’t affect functionality, it can impact their appearance.
Mildew and Odor: If not properly dried after use, moisture can lead to the growth of mildew and unpleasant odors inside the boots.
These are the common problems that can happen to rubber boots with long-period wearing. To extend the lifespan of your rubber boots, it’s important to clean and store them properly, inspect them regularly for signs of damage, and repair them by using rubber boot repair kits at hand.
You may also like: Things about Boot Rubber You Should Know
Choosing the Right Rubber Boot Repair Kit
The market offers a variety of rubber boot repair kits, each designed for specific types of damage. Here’s a breakdown of common repair kit types and when to use them:
Rubber Patch Kits: These kits include patches or sheets of rubber material and adhesive. They are ideal for repairing holes and tears in your rubber boots. Patches are designed to be extremely flexible and long-lasting. They are also stretchy aligning with the boots.
Liquid Rubber Sealants: Liquid rubber sealants are excellent for fixing cracks and sealing minor seams. They provide a flexible and waterproof barrier when applied to damaged areas.
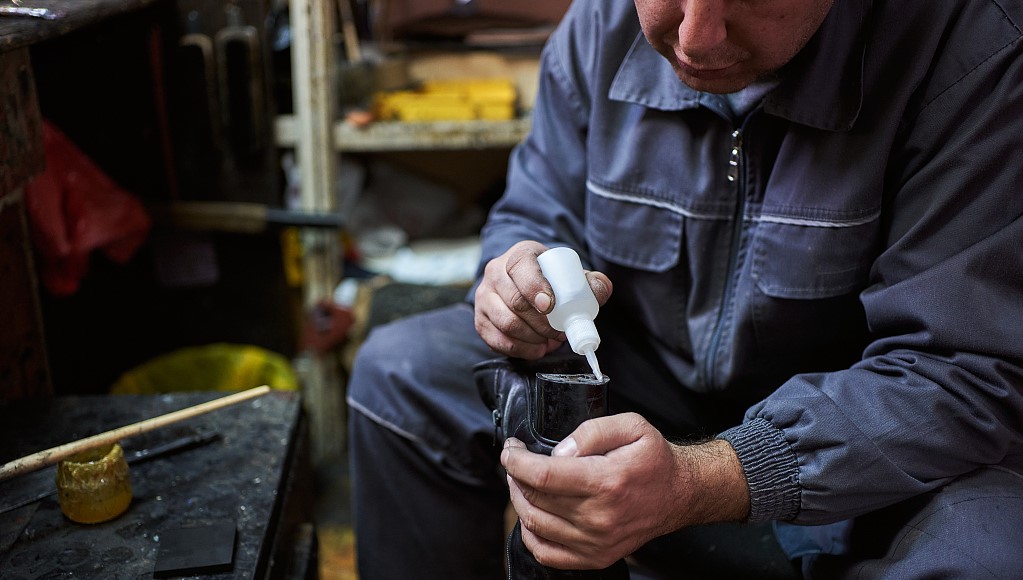
Boot Glues and Adhesives: For loose soles or detached rubber parts, specialized boot adhesives and glues work wonders. They can bond rubber components securely, restoring the structural integrity of your boots.
Boot Repair and Reinforcement Kits: These comprehensive kits typically include various materials, such as patches, adhesive, and reinforcing fabric. They are suitable for tackling multiple types of damage and ensuring a durable repair.
There are so many repair kits for boots available at a low price. Check out online to buy one that you like and then you can move to the next step on how to fix your rubber boots.

How to Repair Rubber Boots: Step-by-Step Guide
Now that you’ve identified the type of damage and selected the appropriate repair kits, let’s walk through the steps to bring your rubber boots back to life.
Materials you’ll need:
- Rubber boot repair kit (appropriate for your specific damage)
- Mild detergent and water (for cleaning)
- Soft cloth or sponge
- Sandpaper (if necessary)
- Gloves (to protect your hands)
Step 1: Clean Your Boots
Begin by cleaning your rubber boots thoroughly. Use a mixture of mild detergent and water to remove dirt, grime, and any contaminants from the damaged area. Rinse the boots and allow them to dry completely.
Step 2: Prepare the Surface (if needed)
For cracks or holes, use sandpaper to gently roughen the damaged area. This step helps the adhesive bond more effectively with the rubber surface. Clean away any debris resulting from sanding.
Step 3: Apply the Repair Material
Follow the instructions provided with your chosen repair kit. For rubber patch kits, cut the patch to the desired size and apply the adhesive to both the patch and the damaged area.
Press the patch firmly onto the boot, ensuring there are no air bubbles or wrinkles. If you’re using a liquid rubber sealant, apply it evenly over the damaged area and let it dry according to the kit’s instructions.
Step 4: Allow for Proper Drying and Curing
Give your repaired boots ample time to dry and cure. This duration may vary depending on the type of repair material you’ve used. Follow the manufacturer’s recommended drying times to ensure a successful repair.
Step 5: Test Your Repaired Boots
Before reusing your boots, conduct a waterproofing test to confirm that the repair is holding up. Fill a sink with water and submerge the repaired area of your boots. Check if there are any signs of leakage, like a bubble. If the boots pass the test, they are ready for usage again.
Step 6: Maintain Your Boots
To prolong the life of your rubber boots and prevent future damage, maintain them regularly. After each use, clean and dry your boots, store them in a cool, dry place away from direct sunlight, and use a protective rubber conditioner recommended by the manufacturer.
Conclusion
Repairing your rubber boots with a rubber boot repair kit not only saves you money but also extends the lifespan of your beloved footwear. Whether you’re dealing with cracks, holes, or leaks, there’s a repair kit tailored to your specific needs.
You can renew your rubber boots by following our step-by-step instructions and selecting the appropriate repair products, ensuring they continue to serve you well in all of your outdoor activities and work conditions.
So, don’t rush to say goodbye to your favorite rubber boots just yet; with the right repair kit, they can accompany you on many more journeys to come.


Leave a reply