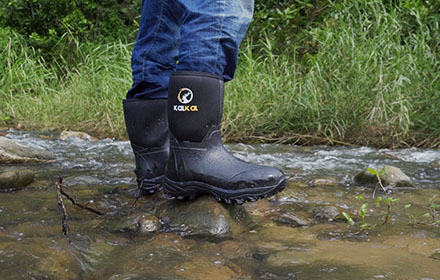
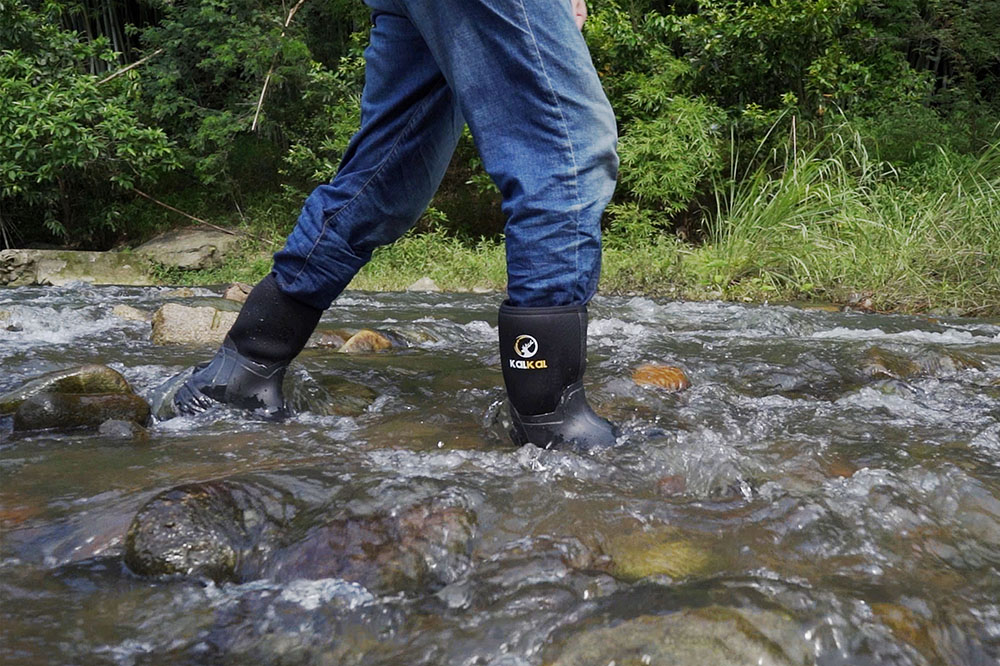
Whether you are an avid outdoor enthusiast or just someone who enjoys spending time outdoors, a good pair of rubber boots will keep your feet warm, dry, comfortable, and safe when it gets wet or muddy.
It is likely that when you get a pair of new rubber boots, they will not be as flexible as you expected initially. However, new rubber boots usually take some time to break in, and they will conform and mold to your feet in no time.
Rubber boots may not be comfortable if they are too tight around your foot. The best rubber boots are made of natural rubber, so even if they do not fit your feet perfectly, you can stretch them for a better fit, and they are extremely durable.
Even the most extreme conditions won’t affect them. If you are having trouble breaking in your new rubber boots, then you might want to try some of these methods that will help you stretch them.
In this blog post, we will guide you through a step-by-step process on how to stretch rubber boots effectively.
Step 1: Prepare the necessary materials
Before getting started, gather the following materials:
1. Rubber boots
2. A pair of thick socks
3. Hair dryer or heat gun
4. Shoe stretcher or alternative stretching tools
Step 2: Wear thick socks
Try to wear thick socks or multiple layers of regular socks with your boots for a period of time. This will create extra padding and help stretch the rubber boots more effectively.
Step 3: Heat the boots
Using a hair dryer or heat gun, warm up the rubber boots. Make sure you hold the dryer about 6-8 inches away from the boots, and distribute the heat evenly over the parts of the boot that feel tight. Do not overheat the boots, as excessive heat can cause the rubber to break down, which will lead to permanent damage to the boots.
Step 4: Wear the boots
Put on the rubber boots while they are still warm. During the process of heating, the rubber will become more pliable, and therefore be able to stretch and mold to the shape of your feet.
Step 5: Walk around
Walk around in the boots for at least 15-20 minutes. Using heat and movement simultaneously will increase the stretch and conformity of the rubber, thus enhancing the comfort of your boots.
Step 6: Apply pressure
If the boots still feel tight after Step 5, apply gentle pressure to the areas that need stretching. You can use your hands to push and stretch the rubber, or use a shoe stretcher specifically designed for boots. Make sure to follow the instructions that came with the shoe stretcher so that you do not damage the boots.
Step 7: Repeat the process if necessary
If your boots still need more stretching, repeat the Step 3 to 6 until you reach the desired result. Make sure that the boots are warmed up each time before you wear them to get the perfect fit over time.
Step 8: Let the boots cool down
After you have stretched the boots to your satisfaction, let them cool down naturally. It will help the rubber retain its new shape during cooling, and reduce the possibility of it shrinking back to its original size.
Conclusion
If you are looking to achieve a more comfortable fit for your rubber boots, stretching them beforehand can be a simple and effective solution. By simply following the steps outlined in this blog post, you will be able to stretch your rubber boots without having to worry about experiencing any discomfort as you enjoy your outdoor adventures.
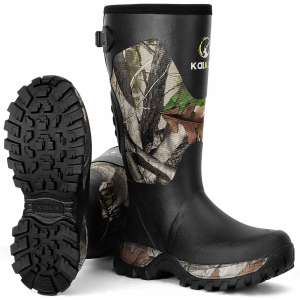
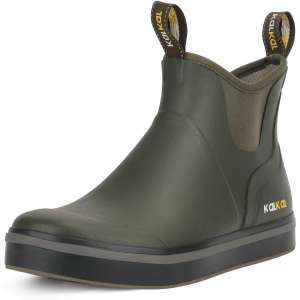
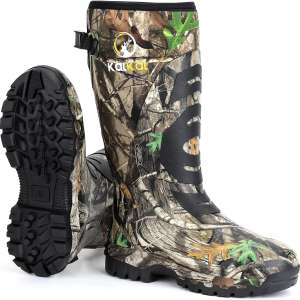
Kalkal has a large range of rubber boots, ideal for all seasons, so if you do not yet have a pair and you are looking for one, you can find them HERE.








One comment on “A Step-by-Step Guide on How to Stretch Rubber Boots”
Derek
Thank you for the information. I will try it and let you. The only place my boots are a little tight is top of the arch on the bone.