This fish cleaning guide prepares you on how to effectively take care of your fish and clean them properly.
So you’ve been fishing and had the best of your time out there on the water and on top of that your boat’s cooler is full of fishes. Now, how do you make sure this prized catch remains good, or more accurately, remains up to par in terms of taste before it plunges into the pan? Fear not, angler!
In this article, you’ll find details on each step of the cleaning process, including how to descale and prepare your tools, which tips and tricks to follow, and which tools are helpful to have when cleaning.
Let’s get you cooking!
How To Keep Your Catch Fresh?
Tips for Keeping Your Catch Fresh:
- Bleed the fish immediately after catching (optional).
- Immediately place fish on ice or in a cooler with ice packs.
- Keep the cooler temperature below 40°F (4°C).
- If not cleaned right away, store fish whole and uncleaned.
- Clean and cook fish as soon as possible for best quality.
Freshwater fish tend to spoil faster than saltwater fish. The colder you can keep your fish, the longer it will stay fresh. Here are some additional tips:
- If you are fishing for several days, bleed the fish as soon as you catch them and store them on ice in a cooler.
- If you are only fishing for a day, you can keep the fish fresh by placing them in a shaded area and covering them with a wet cloth.
- When you are ready to clean your fish, make sure to use sharp knives and a clean work surface.
Shelf Life of Fish (Whole, Uncleaned):
| Fish Type | Freshwater | Saltwater |
| Trout | 1 day | – |
| Salmon | 2 days | – |
| Bass | 1-2 days | – |
| Tuna | – | 3 days |
| Cod | – | 2-3 days |
| Flounder | – | 2 days |
How to Clean a Fish: Step-By-Step
Here are the general steps on how to clean a fish fully, from descaling to removing entrails:
1. Gather your supplies
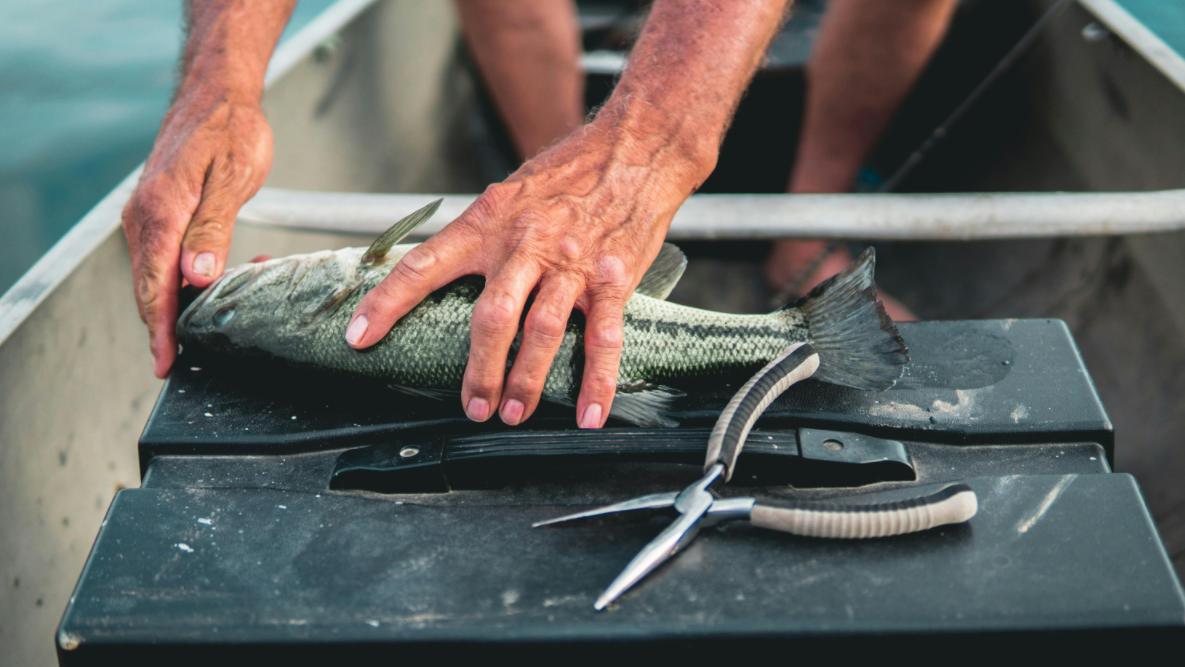
To perform the cleaning process on your fish you will require a sharp knife or electric fillet knife, a cutting board, a pair of pliers (optional in case you intend to peel off the scales) a pair of gloves (also optional), and a cooler packed with ice in which you will store the cleaned fish.
2. Kill the fish humanely (optional, but recommended)
If you do not intend to clean the fish soon when it will be time to prepare it for cooking, you do not have to proceed with this particular step. If not, many more ways are relatively compassionate when it comes to killing a fish.
One technique is to put a knife under the skin and through the skull on the back of the head over the brain.
3. Rinse the fish
The next step you have to do is to wash the fish separately with cold water under clear water from a clean sink or a basin.
You can use salt for washing purposes as well which will improve the quality and safety of the fish.
4. Descale the fish (if necessary)
Some fish require scaling while some do not. Such fish include the trout and salmon that have scales that need to be scraped off. Fish can be described in various ways including: The first one involves using the back of the knife to scrape it starting from the tail end up to the head end.
The other approach involves the use of a specific descaling tool. If the scales are still really tight with the skin of the fish, you could use pliers to pull out each scale separately.
5. Gill removal
You need to make a cut at the head on both sides, down to the gill plate. Then, with the help of fingers or pliers depending on the size of the gills carefully pull out the gills from this cavity.
6. Gutting the fish
Slash from the center of the belly and toward the tail end and just below the head of the fish. Ensure that you do not remove too much flesh and deeper tissues that may reach the internal organs. Once you’ve slashed, you can use your fingers or a spoon to take out the tender part known as the lungs/heart/marrow, and intestines.
7. Rinse the fish again
As you did before, now After having taken out the gills and the entrails, wash the fish both internally and externally with cold water.
8. Remove the head (optional)
If you intend to grill or steam the fish in whole form, the head should be left intact. However, if you want to fillet it, you will have to cut off the head. To remove the head, make an incision at the back of the head then twist it to come off the main body.
9. Debone the fish (optional)
If the person wants to remove the bones from the fish, he or she can follow the fish fileting technique. Removing the skin can be a challenging task, thus, it is recommended to watch a video or to ask a fishmonger if you do not know how to do it.
10. Store the fish on ice
When the fish is washed and cleaned, put it on TOP of ice in an ice chest. Fish will remain fresh for up to 2 days when in the ice.
Fish Cleaning Helpful Tips
Cleaning fish can be a rewarding experience, but it can also feel intimidating at first. Here are some tips to make the process smoother and ensure your safety throughout:
- Sharpen Your Tools: A dull knife is a frustrating and potentially dangerous tool. A sharp knife will glide through the fish with ease, making clean cuts and minimizing mess.
- Work with a Wet Surface: A wet cutting board prevents the fish from sticking and makes cleanup easier.
- Contain the Mess: Line your work surface with newspaper or use a large tray to catch any scales or fluids.
- Consider Using Gloves: While not essential, gloves can help protect your hands from the slime and fishy odor. Opt for thin, flexible gloves that allow for good dexterity.
- Have a Waste Disposal Plan: Prepare a separate container for discarding guts, scales, and other waste.

Essential Tool for Fish Cleaning
It is worth using the appropriate tools for cleaning fish, although this point may be used for fish for food preparation.
Here’s a look at some essentials that will streamline the process and leave you with perfectly prepped fillets.
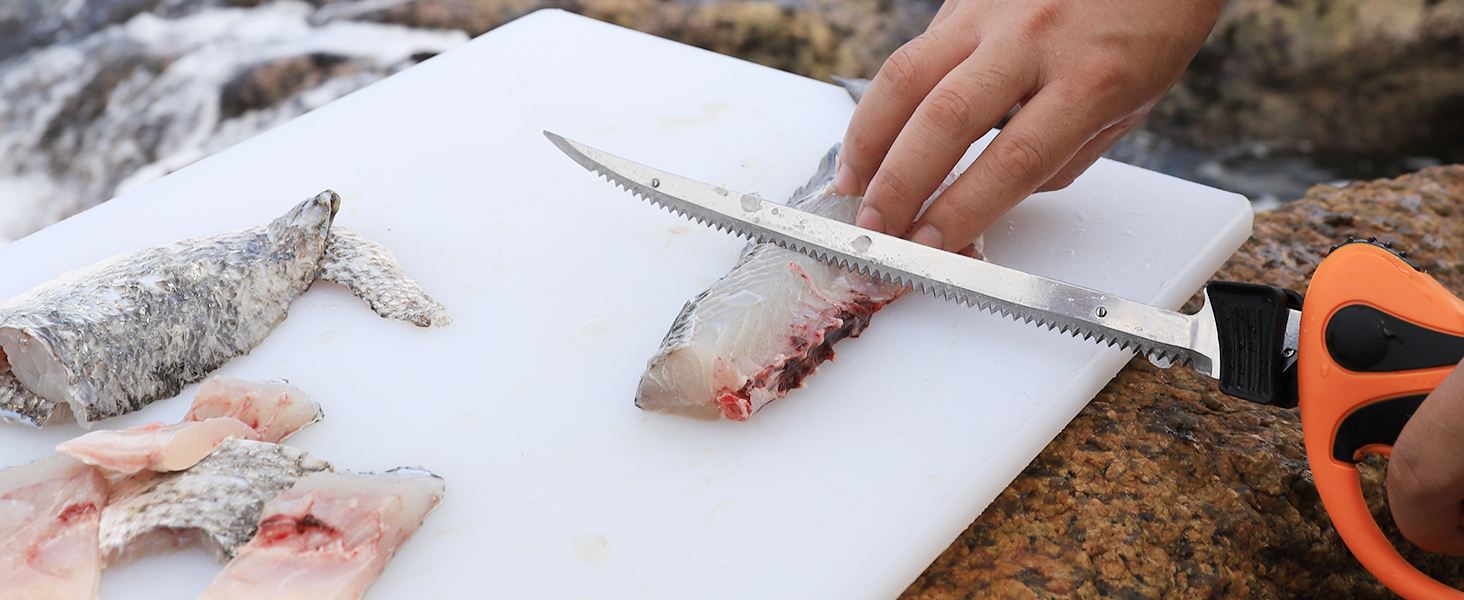
1. Fillet Knife
This is your must-have and go-to tool. A good fillet knife is one whose blade is thin extremely flexible and blunt enough to give the best cut and less waste.
Simply, match the size of the blade according to the kind of fish you mostly reel in; if the common catch is small fish, you might use 6 inches but for bigger fish, an 8-inch or even 9-inch is preferable.
2. Gutting Knife (optional)
A fillet knife may be good enough for most of the cleaning work but it is difficult to initiate the cut with it; that is why most butchers prefer using gutting knives.
This knife is generally slightly more rigid than a filleting knife and is suitable for cutting through the skin and meat without inadvertently cutting through the organs.
3. Needle-Nose Pliers
These are particularly useful when dealing with difficult scales, especially on fish with thick plates such as sheepshead or redfish.
The pliers are also useful in exercises such as pulling out bloodlines or even withdrawing any pin bones that may still be inside after filleting.
4. Fish Scaler (optional)
If you end up with a lot of heavy scales, a scaler could come in handy, as an efficient device. The types of scaler include the electric and the manual ones.
Electric scalers are more efficient in operation, but a good quality manual scaler will also suffice in case of periodic use only.
5. Cutting Board
The first tool required is a strong, secure, and slip-resistant chopping board. Select a material that will not retain bacteria or germs and which is easy to clean, for instance, high-density polyethylene (HDPE) or stainless steel.
Do You Need A Fish Cleaning Station?
Fish cleaning stations are designated areas, often found at marinas, public docks, or fishing piers, specifically equipped for cleaning your catch. Here are some factors to consider
–Frequency of Fishing: If you fish infrequently, a home setup might suffice.
–Available Facilities: Do you have access to clean running water and a suitable workspace at home?
–Waste Disposal: How will you responsibly dispose of fish waste at home?
–Convenience Factor: Are you willing to invest in a portable cleaning station or cleaning supplies for home use?
These stations typically offer features like:
- Running water: A constant supply of fresh water makes rinsing fish and cleaning tools a breeze.
- Cutting stations: Dedicated surfaces with built-in drains streamline the cleaning process.
- Trash disposal: Stations often have designated bins for disposing of fish waste responsibly.
- Fillet tables: Some stations provide raised tables with space to spread out and comfortably clean multiple fish.
- Sharpening stations (optional): Some stations may even have a grinder or sharpener to keep your knives in top condition.
There are a couple of benefits of using fish clearing stations that might trigger you to go and get one for yourself.
- Convenience: Everything you need for cleaning is readily available, saving you time and effort.
- Cleanliness: Running water and designated waste disposal keep your cleaning area organized and sanitary.
- Environmentally Friendly: Stations ensure proper disposal of fish waste, protecting waterways.
- Social Interaction: These stations can be a place to connect with fellow anglers and share fishing stories.
All in all, fish cleaning stations provide a convenient and effective method for cleaning your catch, especially beneficial for frequent anglers.
These stations are commonly located in places such as marinas and fishing piers and offer amenities such as running water, cutting stations, trash disposal, fillet tables, and even sharpening stations.
Deciding to use a fish cleaning station is primarily based on personal requirements. It relies on how often you fish, if there are similar facilities at home, how you dispose of waste, and how much you’re willing to invest in a home setup for cleaning.
Conclusion
This guide helps you to be in control to prepare fresh fish from the time of catching to preparation. Find out how to properly store your catch to preserve its quality. Then follow the stepwise method of preparation such as scaling, deboning, and if required de-skinning and deboning.
The next tip is to choose the right equipment and you may want to have a fish cleaning station to ease its operation as well as proper disposal of waste. Following these tips will make you a fish-cleaning expert very soon.


Leave a reply